Husband's Game Room Renovation
- Paola

- Apr 18, 2022
- 3 min read
Updated: Apr 21, 2022
By far my most challenging home project and DIY has to be my husbands game room. Not only was it mentally difficult to try to come up with a design that would display all of his video games and collectibles, but it was also physically challenging because I wanted to add a wood slat accent wall that was a different color than the wall.
Before I nailed anything to the wall or painted, I took some time to listen to what he envisioned and what he wanted. Before I start a project I make sure that my design will not only be aesthetically pleasing but also functional--functionality is by far the most important step in design!
After listening to his ideas and concerns, I was able to gather some essential details and I drew up a plan (very rough sketch---see photo). I envisioned some open shelving that would allow for his collectibles to be displayed and for his consoles to be easily within reach. After showing him the sketch, he approved and I got to work! However, If you look at the photo of the sketch I drew up, you will notice that the finished product is different than what I had drew up. For instance, we did not do a lime wash paint and the vertical slats went behind the TV instead of behind the shelving on the South wall. I worked on his office in sections, it was a lot of work ahead of me and I knew that if I tried to tackle everything at once I would get overwhelmed and burnt out. Thankfully, my husband lended his help throughout the project (learning that it is OK to ask for help). We began by painting one of the walls in the color Broadway by Behr in a flat/matte finish. The next step was cutting, staining, and hanging his shelves (separate blog on the shelves will be coming soon). Which, if you see my original plans, I had 3 but as we hung the first one up we decided 2 was better. After completing that accent wall we moved on to the next wall, where I decided to add the wood slat feature. Here is where it got tough! Now that I have finished this project, I am able to look back and know what I wish I could have done differently. But, considering that it was my first wood slat project ever, it isn't too bad. After all, no one is an expert on the first try! As far as the measurements for the wood slat wall, I eyeballed it! Thankfully it worked out. The most complicated part about this accent wall was the painting. I WISH I would have painted the wood slats beforehand, that honestly would have saved SO MUCH time and I would have had to do way less touch ups. If you are considering doing this accent wall, paint your wood slats beforehand! I cannot stress that enough. This honestly was the biggest stressor throughout the whole project, everything else was pretty smooth sailing.
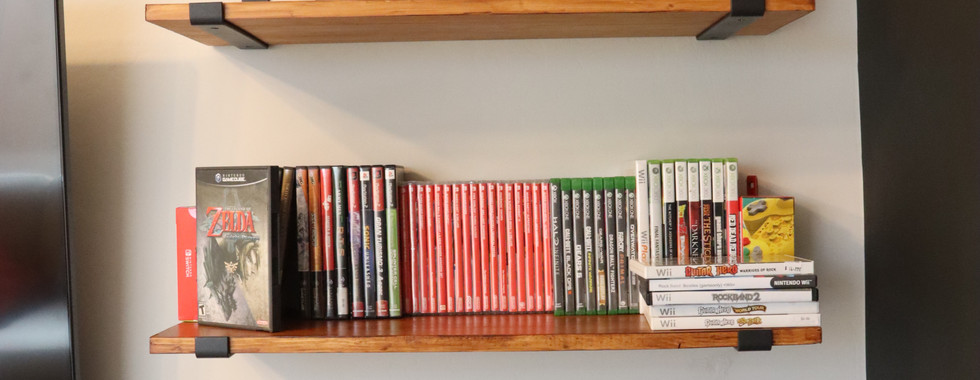
For the decor and styling of his office, he wanted something masculine, mid-century modern, with natural elements, and hints of vintage elements. His console is from World Market and I did my best at color matching the shelves to match the console. His sofa is a creamy beige color and it is from World Market as well. I bought him some terracotta/rust colored throw pillows that have opposing textures--one is velvet and the other is corduroy. His rug, which I am obsessed with, is from boutique rugs and I think it ties in wonderfully with the terracotta/rust colored pillows and plays on the modern/vintage aesthetic he wanted. As far as the shelf decorations, we just displayed all of his collectibles and where there were gaps, I filled in with plants. The last touch was his light fixture, which is from Wayfair. We paired it with some Phillips lightbulbs that change colors---perfect for movie nights and gaming!
All in all, my husband LOVES his game room and it makes me so happy seeing him enjoy a space that I helped create for him. If you are interested in seeing the whole process, go to my instagram page @lifeofpaolah and I have a whole highlight dedicated to the BTS of creating his game room! Hope you stick around and follow along on the rest of the projects I have planned for our home!


Comments